
Create and Print Your Hebrew/Greek Bible Free!
On This Page
Choose, Print, Read!
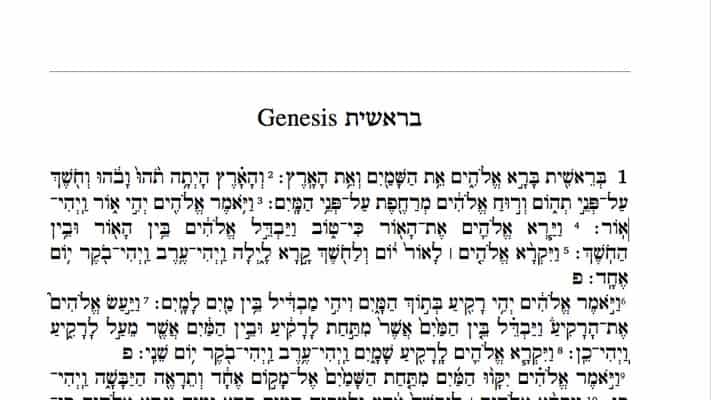
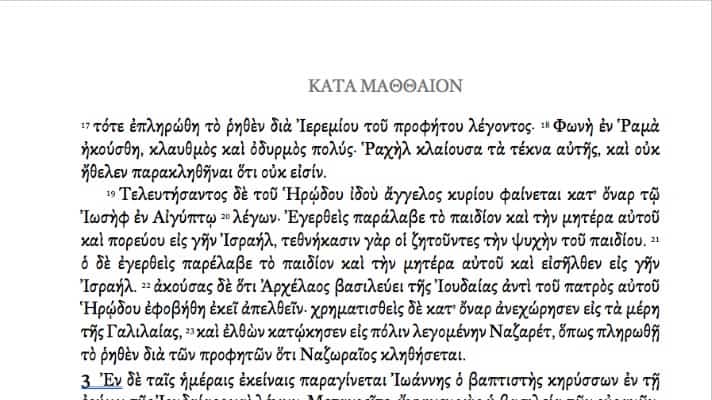
Ever wanted a Hebrew and Greek Bible tailored for you?
Dr Abner Chou of The Master’s University Bible Department has prepared a free version of the Hebrew and Greek texts and made them available for you to print and read for yourself.
All you need to do is choose the edition you want, customize it and have it printed. Full instructions are below!
How To Print Your Hebrew/Greek Bible in 3 Easy Steps
1. Choose
Select the edition you want
2. Customize
Customize in Microsoft Word
3. Print
Get it professionally printed and bound
Step 1: Choose
If you are happy with a base file AND want to print only through Snowfall Press, use the XPS file for body and cover you desire, and go to the section on this page, “Printing with Snowfall Press.” (You will want to open the corresponding Word doc to obtain paper size.)
Step 2: Customize
Typesetting the Interior File
- Select a base file from the options and open it in Microsoft Word.
- You may edit it for paper size, margin size, and font size.
- For paper size – go to the Page Layout tab, select size, and select custom size. Type in the size you want. For Snowfall press books, you can have any size you want. For ingramspark press books, you will need to select the trim sizes from here: https://goo.gl/S3sdDg
- For margin size – go to the Page Layout tab, select margins, and select custom margins. Type in the margins you want.
- Note: do not change gutter margins and it is recommended to never lessen the margins below .5”.
- Note: if you want to have this rebound at Leonard, add .25” to the inner margin
- Note: if you want a wide margin, you will have to fiddle around with page size and margins to get the right amount. See base file for wide margin for an example.
- For font size (or even font itself):
- Change Greek font by doing search and replace. Search all SBL Greek font and change the size of it.
- Change Hebrew font by going to the Home tab and right clicking on several styles. You will need to change BHebrew style (complex font and font size), HebBody style (complex font and font size), and Hebrew Title style (complex font and font size).
- Please be patient as Word repaginates this very large document. Just wait and it should work (even if it appears to be frozen).
- Some things to check before saving a file.
- Are there an even number of pages?
- Does the Greek Bible begin on an odd number page (as well as Matthew 1?
- Does the Hebrew Bible begin on an even number page (as well as Genesis 1)?
- Are there two blank pages at the end of the file and between last page of Revelation and Chronicles?
- Are the beginning of books where you want them to be? .
- Save the Word file as an XPS file.
- Go to File | Print.
- Select Microsoft XPS printer
- Under page selection, select “custom print.”
- Enter the page numbers as follows:
- 1-[last page of the Greek Bible, should be odd number], [last page of document, must be even number]-[first page of Hebrew Bible, must also be even number]
- Example: 1-307, 1264-308
- This ensures that that the Hebrew Bible prints right to left and does so correctly (with the correct pages on the correct sides of the book).
- 1-[last page of the Greek Bible, should be odd number], [last page of document, must be even number]-[first page of Hebrew Bible, must also be even number]
- Click print. It will take a while for the book to process. Then Word will ask you to save the file. Type in an appropriate file name and click save. Then Word will digitally print the document to that file and again this will take some more time.
- Once you have the file you can go on to the next steps
Step 3: Print
Printing with IngramSpark
Faster and Cheaper Option
The reason you would print with ingramspark.com is because it is a less expensive and faster (all in one) option. You can obtain a hardcover book directly from them for less than printing from Snowfall and then have it rebound at Leonard’s.
- Set up an account with IngramSpark. It is free. You will need to supply a credit card so that they can charge you for the purchase you will makeConvert the XPS file to adobe pdf standard PDF/x-1a:20.
- Convert the XPS file to adobe pdf standard PDF/x-1a:2001. (Ingramspark requires this standard)
- Obtain Adobe Acrobat PRO (trial version can work)
- Open XPS file in Adobe Acrobat PRO
- Use PREFLIGHT and save this file as PDF/X-1a:2001
- In ingramspark, create a new book. Click on “add new title.”
- Fill in the required information. For book description and topic, you can make whatever you want up. You are not going to sell this book so it doesn’t matter.
- Select the appropriate trim size (the page size in your word document).
- Select hardcover – case laminate is a hardcover which is printed on; cloth is cloth.
- Enter the page numbers
- What is absolutely important is at Step 5 to pick a non-distributable SKU. Do not select ISBN. This sets the book to printed for you privately.
- Make the publication date today’s date.
- Proceed to upload your interior PDF file.
- If you require a cover file, go Ingramspark’s cover template here: https://goo.gl/T2X8WG and enter in your non-distributable SKU. Have the template sent to your email.
- Open this template in InDesign (again use a trial version if you want) and design your cover.
- Export the cover as a PDF/X-1a:2001 file.
- Upload this file to ingramspark.
- At this point, you can submit your file uploads to the publisher. They will check them and then ask you for payment for set up. Try to use the code: GETPUBLISHED to avoid such charges. If that doesn’t work, search for a code online (they have them from time to time).
- Having taking care of all of this, ingramspark will begin to process your book. It will take about 2-3 business days. They will provide you an e-proof of your book and once you accept it, you can order it (even one copy) to yourself.
Printing with Snowfall Press
High Quality Product
The reason you print with Snowfall Press and Leonard’s book bindery is because although it will be slower and more expensive, the quality will come out better in the end. You will have thinner paper for a thinner (less bulky) Bible. You can print in more customized sizes. You can even have it bound quite nicely in leather. It is a bigger investment of time and money but you do get what you pay for.
- Start an account with Snowfall press. http://www.snowfallpress.com.
- Begin a new book project by clicking on “new book.”
- Fill in the relevant data of book title, page size, margins, and page type (use 13lb paper!!)
- Upload your XPS Microsoft document for interior file.
- Using the interface, adjust the content of the book so that it fits within the margins. You can peruse through the book (use the blue arrows on the far ends of each page to navigate). Your inside margins should be quite large if you are going to send it to Leonard’s since they will cut off .25” in rebinding for you. If you added this to your margins in Word, you should be fine.
- For the cover
- Go to http://www.snowfallpress.com/pricing and type in the appropriate information
- You will receive the PDF cover sizing information on the bottom of the screen
- In Microsoft word, make a document that has the page size exactly that size and design your own cover.
- Save that cover as XPS
- Upload that XPS file as the cover in snowfall press.
- Having completed this, click “back”
- Order a proof. (Click Print Proof and then go to shopping cart to check out)
- You should receive the book back in just a few business days. (I am really impressed, received it in California in 4 business days)
Finishing your Snowfall Bible
After receiving the book from Snowfall Press you can have it bound in leather. Contact Leonard’s Book Restoration for further instructions (go to http://www.leonardsbooks.com) (see specifically http://www.leonardsbooks.com/how-to-order/). Make sure book looks the way you want content wise before sending it to Leonard’s!
Alternatively
Order a custom leather book cover from innovativejournaling (innovativejournaling.com). Go to their custom book cover page, take exact measurements of your Bible, fill out the order form, and you are ready to go. This will not rebind your Bible but provide a high-quality leather cover that fits so well on your Bible it essentially looks like it only has a leather cover. If your binding ever breaks on your paperback Bible from Snowfall, print another one and put it in the cover and your Bible is as good as new. This is a faster and less expensive way to have a great Bible than Leonards.
3 Pre-built Editions to Choose from
Contact Dr Abner Chou
If you have any questions about this process, use the form below to contact Dr Abner Chou at The Master’s University.